As a car enthusiast and blogger, I’ve always been passionate about keeping my car looking its best. That’s why I understand the frustration of having a dealer sticker on your newly bought car. It’s like a blemish on an otherwise perfect surface.
So, I want to share with you a simple, yet effective way to remove those pesky dealer stickers. Trust me, I’ve been there, and I’ve learned the best tricks to do this without harming your car’s paint.
Understanding the Type of Sticker and Adhesive Used
First things first, it’s crucial to know what we’re dealing with. Most dealer stickers are made of vinyl, which is good news because they’re easier to remove than paper-based stickers. The adhesive used is usually strong enough to withstand weather elements but not so strong that it can’t be removed.
Preparing for the Removal Process
Now, onto the preparation. You’ll need a few tools:
- A heat gun or a hairdryer
- A plastic card (like a credit card) or a razor blade
- Adhesive remover or rubbing alcohol
- Clean cloths
Safety tip: Be cautious when using a razor blade, especially on your car’s paint.
Step-by-Step Guide to Removing the Sticker
Step 1: Softening the Adhesive
Using your heat gun or hairdryer, gently heat the sticker. This softens the adhesive and makes the sticker easier to peel off. Be careful not to overheat as it can damage the paint.
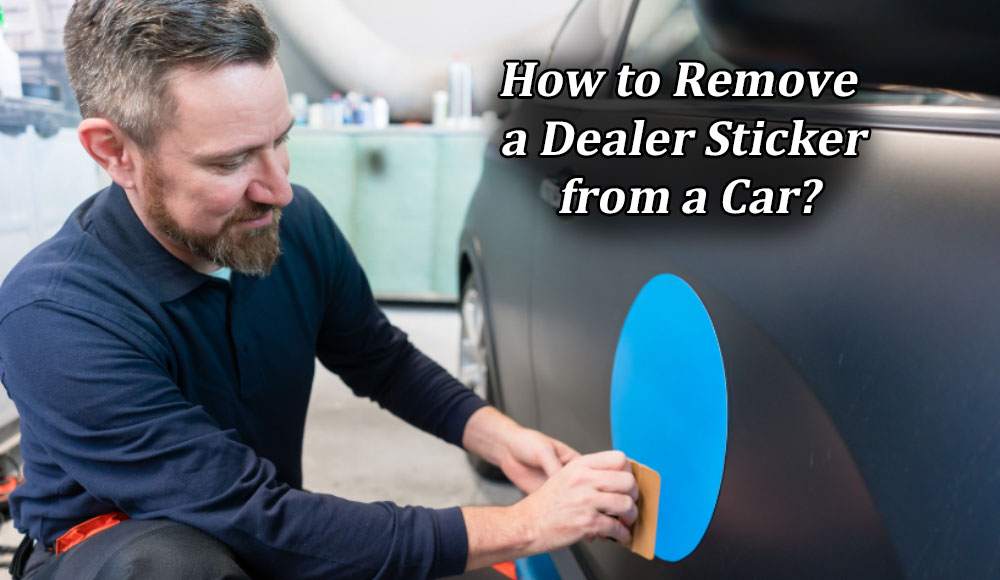
Step 2: Peeling off the Sticker
Once the sticker is heated, gently slide the plastic card or the edge of the razor blade under a corner of the sticker. Slowly start peeling it off. If it resists, apply more heat and try again.
Step 3: Dealing with Residue
There’s often some adhesive residue left behind. Don’t worry; apply some adhesive remover or rubbing alcohol to a cloth and gently rub it over the residue. It should come off easily.
Cleaning and Polishing the Area
After the sticker and residue are gone, it’s time to clean the area. Use a mild soap and water solution to wash it. Then, dry it off and apply some car wax. This will not only protect the paint but also restore the shine.
Alternative Methods and Tips
If the above method doesn’t work or if you prefer something less intense, there are alternatives. For instance, applying a mixture of vinegar and water can also help loosen the adhesive. Another trick is using WD-40, but be cautious as it can affect the wax on your car.
Tips:
- Be patient. Rushing the process might cause damage.
- If the sticker is old and brittle, it might be harder to remove.
Preventive Measures for the Future
To avoid this hassle in the future, you can ask the dealer not to put any stickers on your car. If they insist, request a decal that can be easily removed.
The Importance of Patience and Precision
I can’t stress enough the importance of patience in this process. It’s tempting to just rip off the sticker, but that can lead to more harm than good. Precision is key. Take your time, and your car’s paint will thank you.
Final Notes
In conclusion, removing a dealer sticker from your car doesn’t have to be a daunting task. With the right tools, a bit of patience, and precision, you can get rid of that unwanted sticker and keep your car looking as good as new. Remember, the goal is not just to remove the sticker, but to preserve the beauty of your car. Happy detailing!